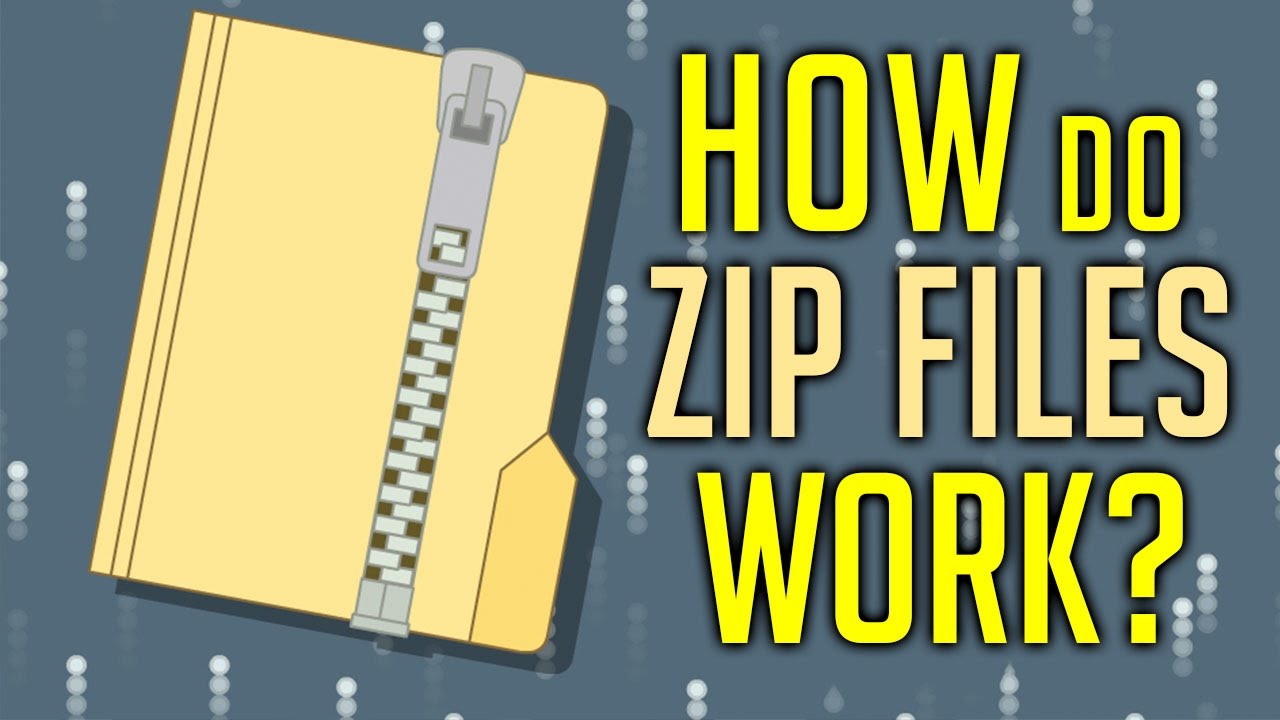
A zip file is an archive file that contains one or more files that have been compressed in order to conserve storage space. It is a great way to store and retrieve large files that are too large for regular storage. Creating and using a zip file is a simple process, and can be done with the help of a few tools. In this tutorial, we will explain the steps necessary to create and use a zip file for storage and retrieval.
First, you need to select the files you wish to compress. You can use a file manager application to select the files, or you can use the command line. Once the files have been selected, you can use a zip utility program to create the zip file. Most operating systems have a built-in zip utility, but there are also third-party programs available.
Once the zip file has been created, you can store it on your system. The file can be stored on a local hard drive, a USB drive, or even on the cloud. You can also choose to upload the zip file to a file sharing service, such as Dropbox or Google Drive, for easy retrieval.
How to create a zip file
A ZIP file is a compressed file that can contain one or more other files. When you create a ZIP file, it compressed the size of the files you add to it. This makes it easier to send or download the ZIP file, because it takes up less space. You can also password-protect ZIP files so that only people with the password can open them.
To create a ZIP file, you can use a free program like 7-Zip. First, open 7-Zip and navigate to the location where you want to create the ZIP file. Then, select the files you want to add to the ZIP file. To select multiple files, hold down the CTRL key while you click each file. Once you’ve selected all the files you want to add, click the Add button at the top of the window.
In the Add to Archive window, enter a name for the ZIP file and choose a compression method. We recommend using the default settings. Once you’re done, click the OK button.
Your ZIP file will now be created. You can double-click it to open it, or right-click and choose Extract All to extract the files it contains.
How to use a zip file
Zip files are very versatile and can be used for a variety of purposes. Here are some tips on how to use a zip file.
- To compress a file or folder, simply right-click on it and select “Compress.” This will create a new zip file with the same name as the original file or folder, but with a “.zip” extension.
- To uncompress a zip file, simply double-click on it. This will extract the contents of the zip file to a new folder with the same name as the zip file.
- To add files to an existing zip file, simply drag and drop the files into the zip file. They will be automatically compressed and added to the zip file.
- To remove files from an existing zip file, simply right-click on the file and select “Delete.” The file will be removed from the zip file.
- To create a self-extracting zip file, simply select “Create Self-Extracting Zip File” from the Compress menu. This will create a new zip file that can be extracted without needing any special software.
Zip files are a great way to compress and archive data. They are very versatile and can be used for a variety of purposes. Use them to compress and archive files, folders, or even entire drives.
How to unzip a zip file
If you’ve ever downloaded a file from the internet, chances are it was in the .zip format. Zip files are compressed archives that contain one or more files. They’re popular because they make it easy to send or download a group of files without having to send each one individually.
To extract the files from a .zip archive, you’ll need a file unzipper. Many operating systems have built-in support for zip files, so you may not even need to install anything. For example, on a Mac, you can just double-click the zip file to unzip it. On Windows, you can right-click the zip file and select “Extract All.”
If your operating system doesn’t have built-in support for zip files, there are plenty of free and paid file unzippers you can use, such as 7-Zip (windows only) or The Unarchiver (Mac only).
Once you’ve installed a file unzipper, open it and navigate to the location of the zip file you want to extract. Select the file and click “Extract” or “Unzip.” Depending on the program, you may be able to select where you want the extracted files to be saved. If not, the files will be extracted to the same location as the original zip file.
How to create a password protected zip file
Do you need to securely transport a file or a set of files? If you want to ensure the contents of the files remain safe, you may want to consider creating a password protected zip file. Zip files are a great way to compress and store multiple files into a single file, and adding a password to the file can help to protect its contents from unauthorized access. In this blog, we will discuss how to create a password protected zip file on Windows and MacOS.
Windows
- Select the files you want to include in the zip file.
- Right-click on the files and select “Send to”, then “Compressed (zipped) folder”.
- Right-click on the newly created zip file and select “Add a password”.
- Enter your desired password for the zip file and click “OK”.
MacOS
- Select the files you want to include in the zip file.
- Right-click on the files and select “Compress X Items”.
- Double-click on the newly created zip file to open it.
- Click “File” in the menu bar, then select “Set Password”.
- Enter your desired password for the zip file and click “OK”.
Once you have created the password protected zip file, you can safely transfer it to whomever you need to send the file to. Make sure to keep the password safe and secure, as the contents of the zip file are only as secure as the password you have chosen.

